Showing posts with label How To. Show all posts

Friday, June 4, 2010

Cropping layouts in Paint Shop Pro

We were recently asked how we crop our layouts on the TD forum. I work with both Paint Shop Pro X2 and Photoshop. For some reason I prefer PSP for cropping my layouts, and defer to PS for editing photos. You can click the links above, and test the trials for the new versions of these photo editing programs.

Today, I will walk you through how I crop a layout for posting online. I'm sure there are lots of different ways to achieve this, I'm just sharing how I do it.

Try as I might, I never can fully get 100% over top of the layout when taking a photo of it, to get that perfect crop, and without the camera lens distorting my layout.

Below is a photo straight out of the camera.
The bottom portion of the layout if you look closely, appears to be wider and more turned up than the top portion of the layout. If we want to fix this to get a near perfect crop, we have to straighten the layout up a bit.
In PSP (Paint Shop Pro) there is a tool called a straighten tool. You can either straighten the layout horizontally, or you can use Perspective Correction to straighten all the sides. That will get rid of the distortion caused by the camera, and by us not fully taking the picture directly over top of the layout.
It is the 6th tool from the top, we'll be using perspective correction.  (If you hold your mouse over the little arrow, you will get the drop down menu as shown below)
When you select it, you will see this on your image. Click the image to enlarge it.. the tool places itself on your photo. See where the arrows are pointing to?

What we need to do, is zoom in a bit, and align all 4 sides of the tools lines with the 4 sides of our layout.
I zoom in until I can clearly see the edge of my layout against the background. The, you just grab a corner of the perspective correction tool, and drag it to one corner.
 I always start at the top left of my layout, and work clockwise. Keep dragging the little square to the corners of your layout(there are 4 squares for each corner of your layout)... making sure you get as close to the edge of your layout as possible. You can click the photo to view it larger...
Once you've outlined your layout with the perspective correction tool, double click.
You may not be able to actually see the difference, but once you are ready to crop your layout, you should be able to get a clean crop, so none of your background shows behind your layout.
Before we go any further, we need to make sure you have your tool palette options showing on the ribbon above. To make sure your tool options are available, go to View->Palettes->Tool Options. Make sure there is a check mark beside it.
Now, select your crop tool, 5th tool from the top.
Before we crop, we need to tell our crop tool what size to crop to. So on your ribbon above, look for the tool options for your crop tool. (highlighted below)
You want to change the numbers for width and height to 600 x 600 pixels, then check the toolbox to maintain aspect ratio. (this will give you a perfect square as you drag the crop tool around your layout.)
Now, position your crop square at the upper left corner of your layout, then drag the bottom right corner of the crop square to the bottom right corner of your layout.
Everything that is shaded, or darker, will be cut away. Everything inside the lighted area is what will be kept.
When you're ready hit the apply check mark button (the green circle) or double click your mouse.
You should be left with just your layout showing.  Now it's time to resize for uploading. Click on Image->Resize.
Put in your dimensions in the middle section. I usually save as 800x800 or 600x600.
Then save it!
You should have something like this layout, cropped close without your background showing.
If any of you use Paint Shop Pro, I hope this helps you a bit!
Happy Friday!
xoxo,
Leah

Friday, May 7, 2010

Paper distressing techniques part 2 of 2

If you missed part 1 you can find it here. :)

Technique 2: creasing your paper


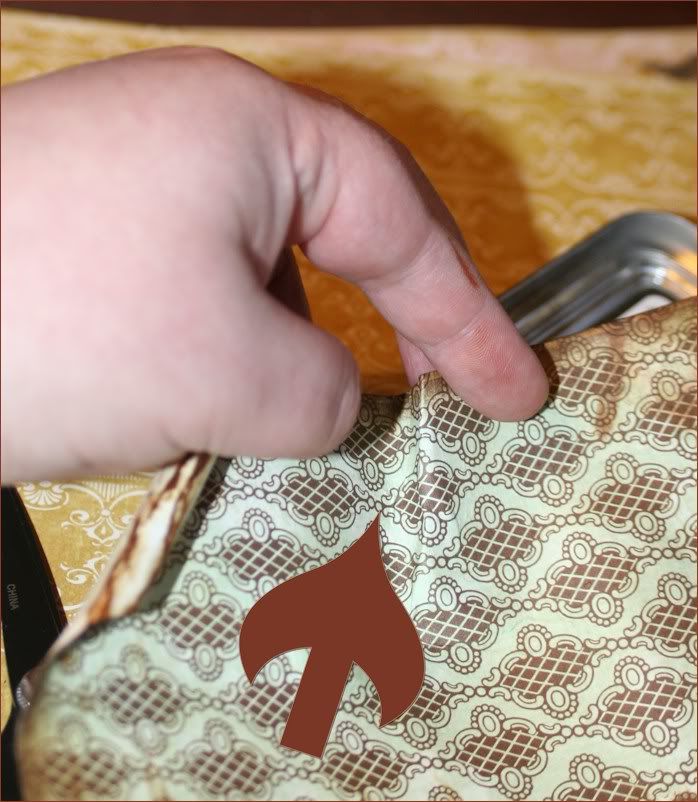
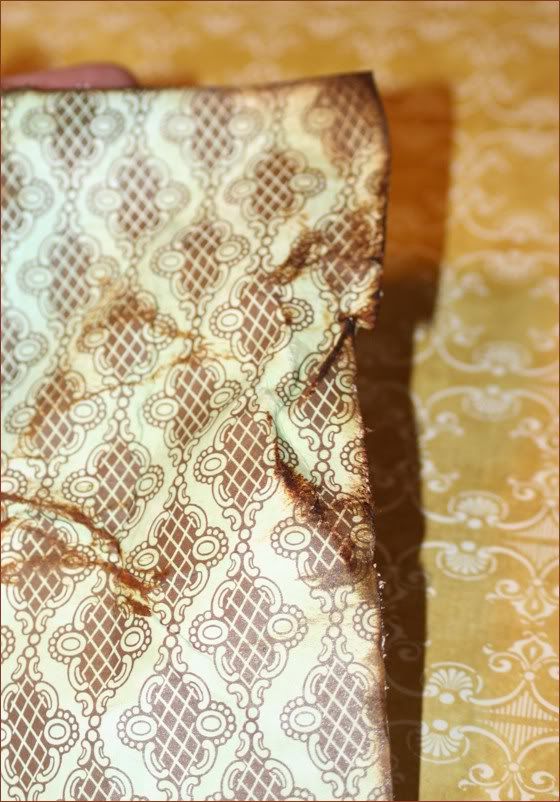
Continuing from the previous post, we had spritzed our paper with water. Doing this allows your paper to become more malleable, easier to shape and work with. If you want to follow along, go ahead and mist your paper with water. Using your thumb and index finger, lay them down on the paper. Push the paper with your thumb towards your index finger, and at the same time, pull with your index finger towards your thumb.
Doing so creates this lovely crease line in your paper. Play with it a bit by pulling, pushing, folding, until it is shaped to your liking. If you guessed, then this is where the ink comes in. ;) Adding ink is just visually pleasing to me, and it really helps the distressing of your paper to stand out.
Another way to create this on the edge of your paper is to use your scissors while the paper is damp, and run them across the edge of the paper.
This does two things. One, it creates this really fabulous rough edge. Two, it pushes and bends the paper in on itself a bit. Again, experiment to your hearts desire.

 Technique 3: tearing/folding your paper

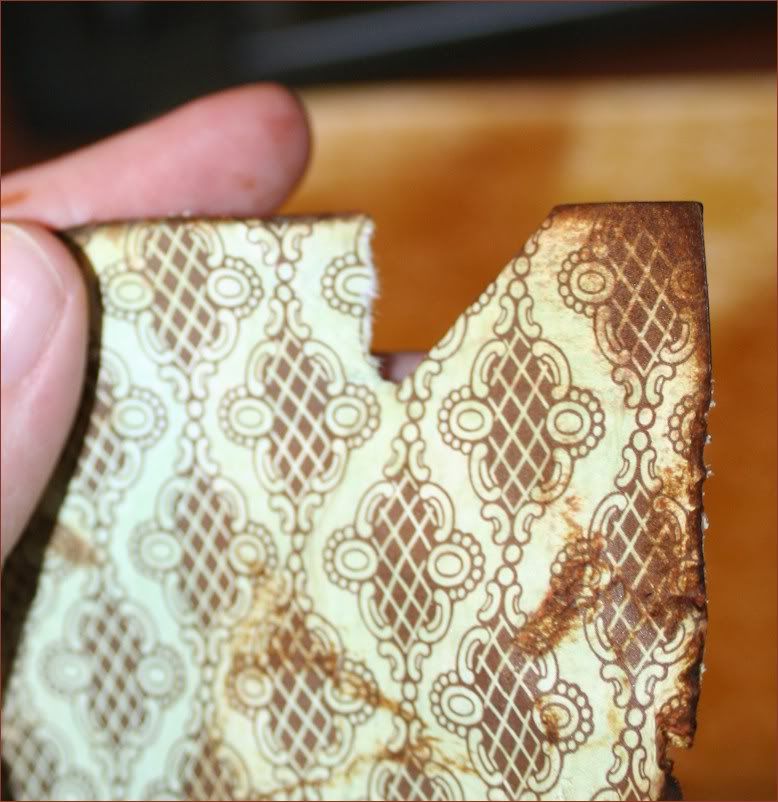
There are lots of different ways to change the way your paper looks... this is one other technique I use when distressing my paper... and it takes about three seconds. You can do this with your paper wet or dry. I prefer that my paper is damp when I do this because when I stop tearing, the fibers in the paper are wet and actually have a smooth edge where I tore it at.
You can leave it as is, you can ink it, or you can fold it back.
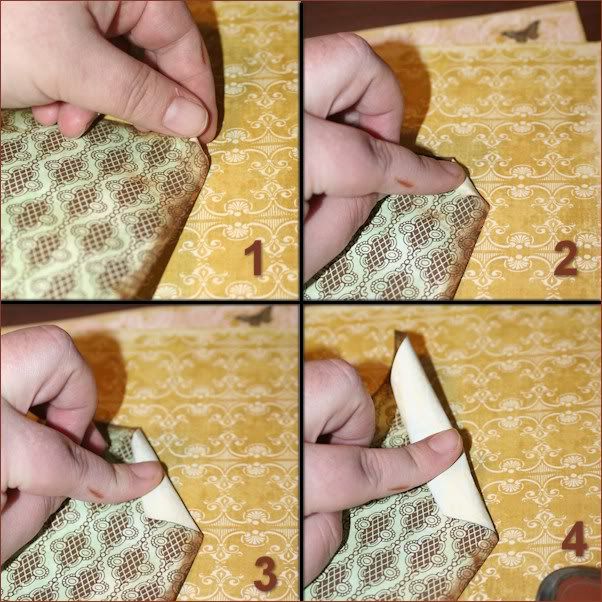
Start with one side of the tear and fold it back behind the paper to hide it.

Do the same thing for the other side.
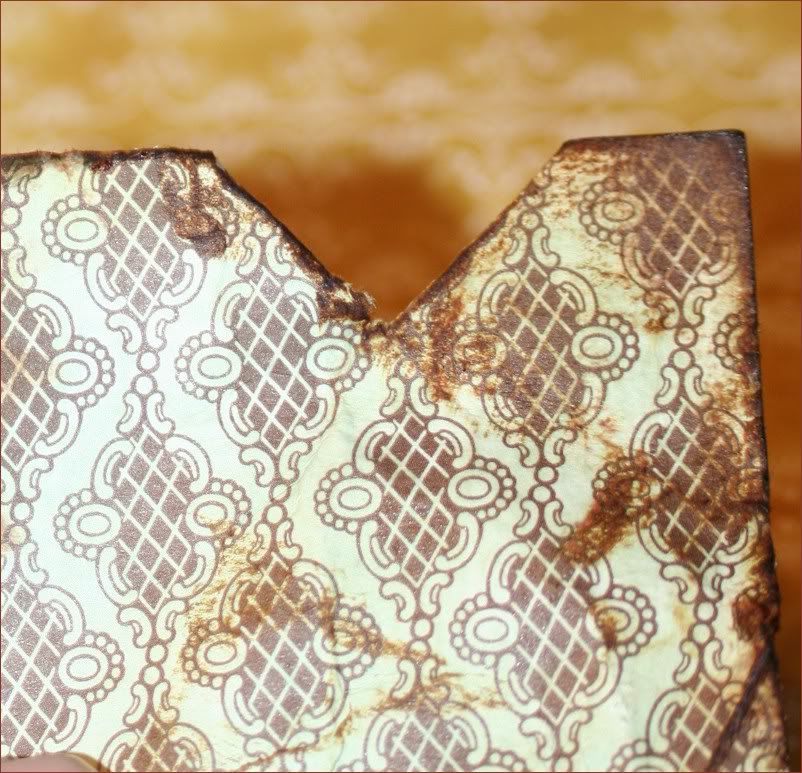
Ink it.. and voila.

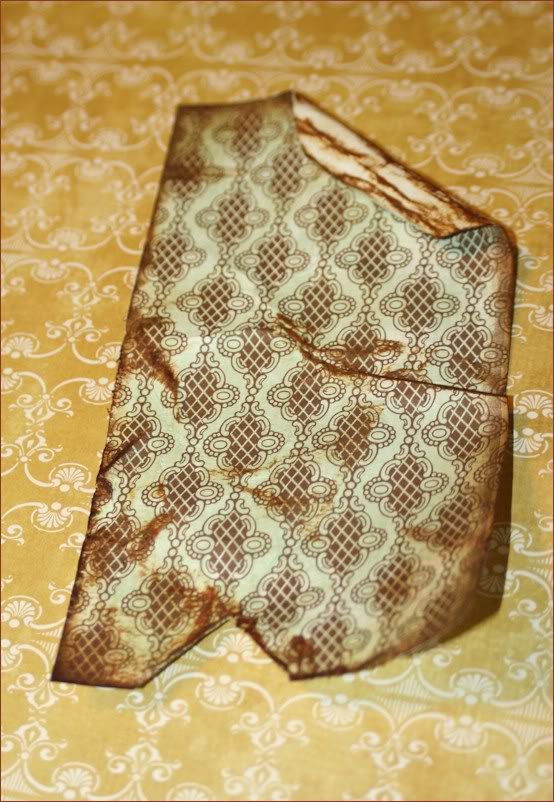
Here's this poor little distressed piece of scrap paper in all its glory. ;)


Have fun with it. In the end, its all about what YOU LIKE, and what YOU WANT on your finished projects!
Until next time...
xoxo
Leah

Thursday, May 6, 2010

Paper distressing techniques part 1 of 2

Recently I was asked how I curled, roughed up, rolled, and distressed my scrapbook paper. The easiest way to tell you is by showing you. I will have this available by video soon, and will post it if you would like to see these techniques in action, for now, I snapped some photos. :)

What you will need:

  1. Paper
  2. Ink
  3. Mini Mister filled with water
  4. Scissors
  5. Glue dots 
  6. Heat gun (optional)
 Technique 1: rolling/curling your paper

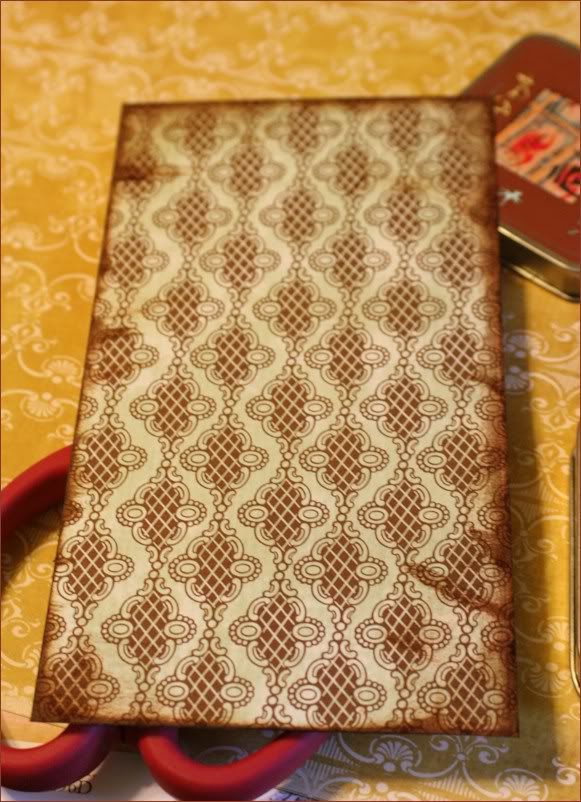
Get your ink, and ink all around the edges of your paper. As much or as little as you like. Y'all know me, and I like LOVE my ink!
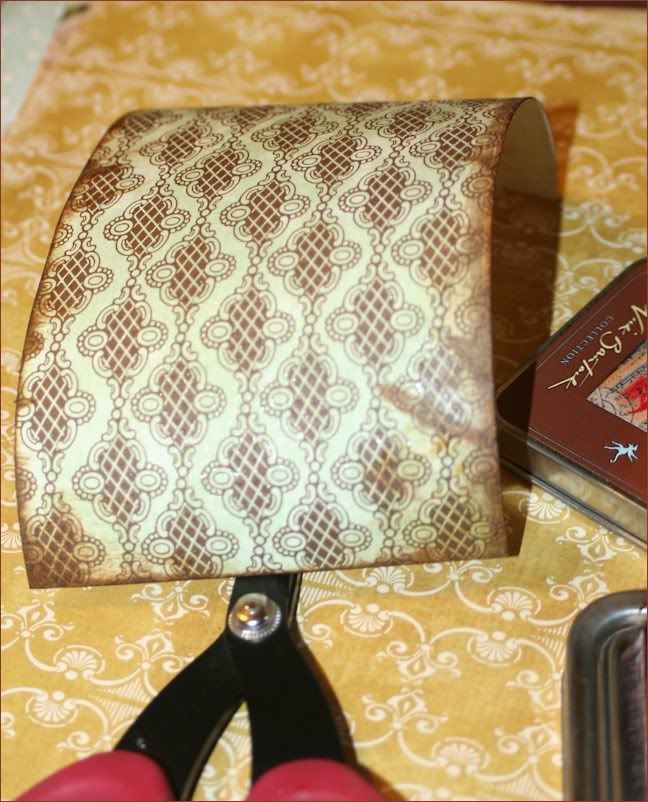
Grab your paper and your mini mister (you can get these in a pack of 3 at Michaels for really cheap) and over your trashcan or sink, mist all around the edge of the paper. (If you used a Ranger distressed Ink, you can rub the edges of the paper to create a lovely smudged look with the water and ink... in these photos, I did not use that ink) You'll notice the paper starts to curl up.. that's what we want! We are going to tell this paper how we want it to behave.

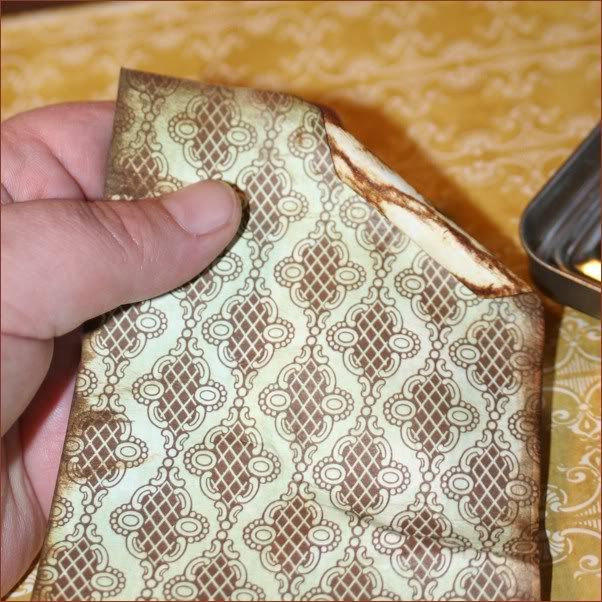
Now, at any corner of the paper, press down with your thumb and index finger, and start to roll it in. If you've ever played with playdough or making a paper cone, it is similar to that.
Roll it in as much as you like.. you can roll it tightly, or very loosely, completely up to you, there are really no rules to this. :) You'll notice your paper is still wet, go ahead and let go of it, see how it is keeping its shape? Now, if you want, grab your ink pad again and ink the top of the paper you rolled in.
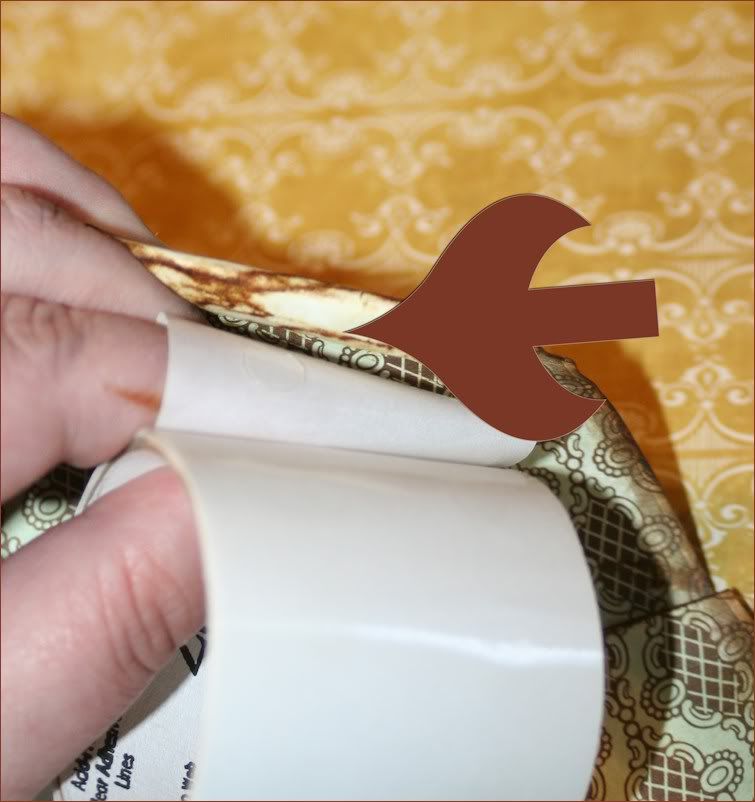
Once it is dry, you can leave it as is, or you can adhere it down so it won't move around. Get your glue dots, and place one underneath the edge of the rolled paper. See where the arrow is pointing to? There.
Then press down so it sticks.
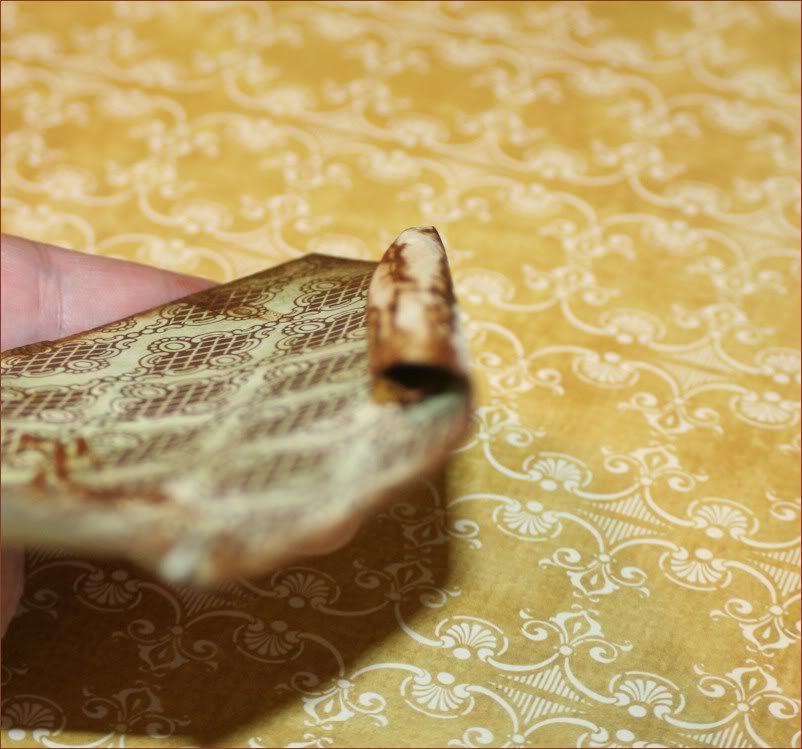
You can leave it smooshed down or you can play with it and open it back into a roundish shape.

There you have it. Easy peasy right?

Stay tuned for part 2 tomorrow!
xoxo
Leah