Showing posts with label Paper. Show all posts

Friday, May 7, 2010

Paper distressing techniques part 2 of 2

If you missed part 1 you can find it here. :)

Technique 2: creasing your paper


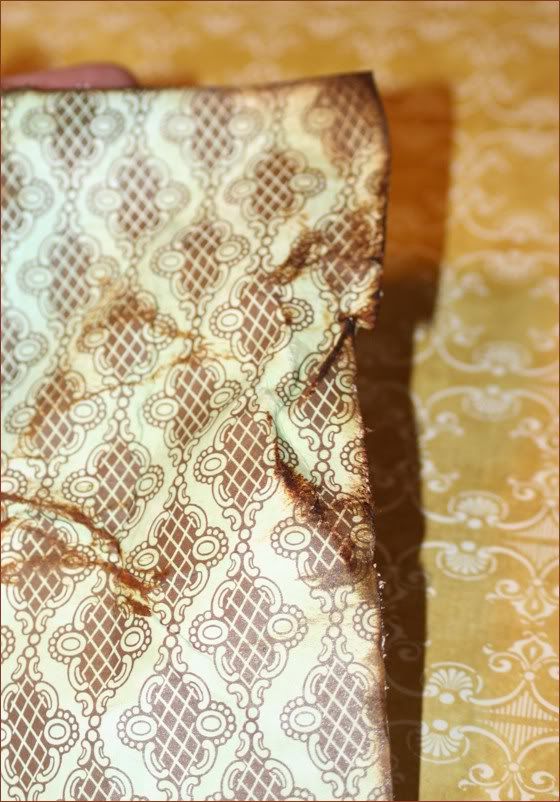
Continuing from the previous post, we had spritzed our paper with water. Doing this allows your paper to become more malleable, easier to shape and work with. If you want to follow along, go ahead and mist your paper with water. Using your thumb and index finger, lay them down on the paper. Push the paper with your thumb towards your index finger, and at the same time, pull with your index finger towards your thumb.
Doing so creates this lovely crease line in your paper. Play with it a bit by pulling, pushing, folding, until it is shaped to your liking. If you guessed, then this is where the ink comes in. ;) Adding ink is just visually pleasing to me, and it really helps the distressing of your paper to stand out.
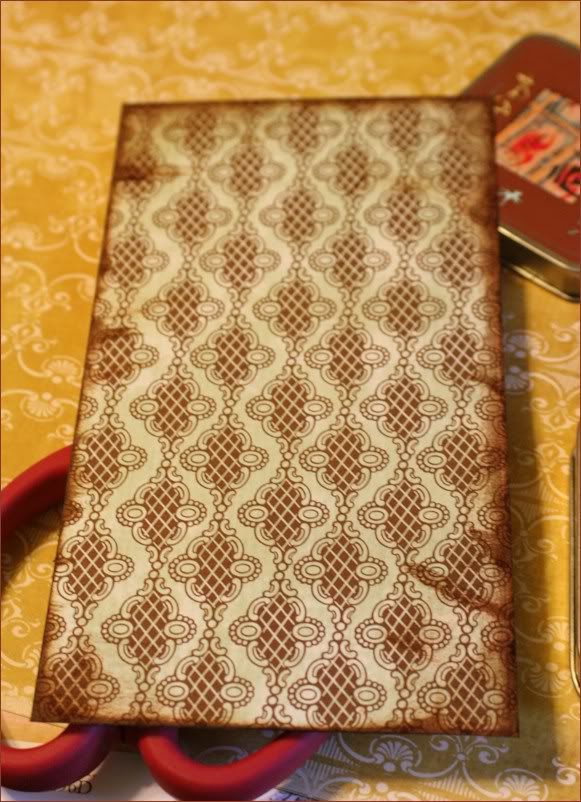
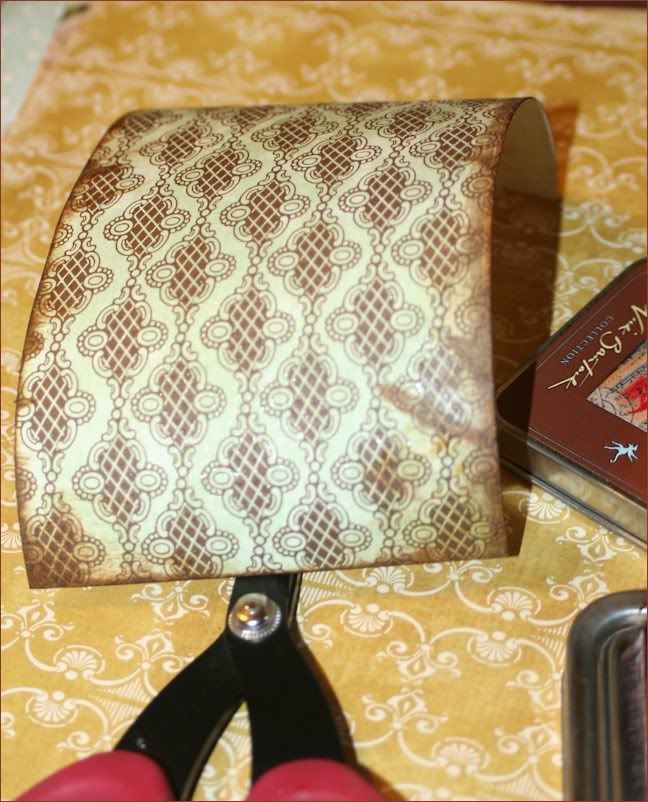
Another way to create this on the edge of your paper is to use your scissors while the paper is damp, and run them across the edge of the paper.
This does two things. One, it creates this really fabulous rough edge. Two, it pushes and bends the paper in on itself a bit. Again, experiment to your hearts desire.

 Technique 3: tearing/folding your paper

There are lots of different ways to change the way your paper looks... this is one other technique I use when distressing my paper... and it takes about three seconds. You can do this with your paper wet or dry. I prefer that my paper is damp when I do this because when I stop tearing, the fibers in the paper are wet and actually have a smooth edge where I tore it at.
You can leave it as is, you can ink it, or you can fold it back.
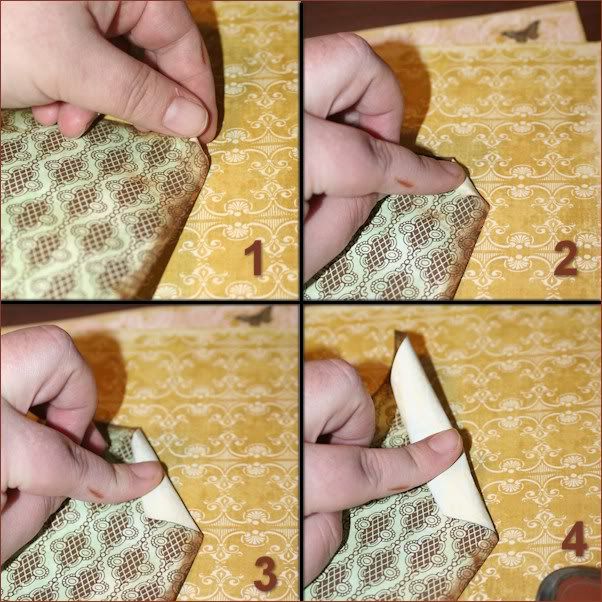
Start with one side of the tear and fold it back behind the paper to hide it.
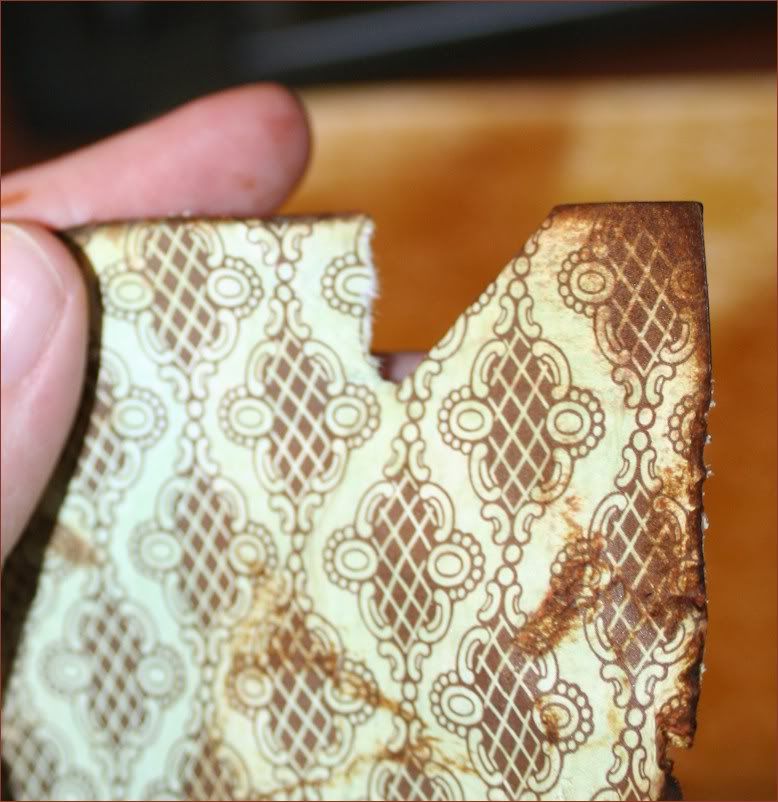
Do the same thing for the other side.
Ink it.. and voila.
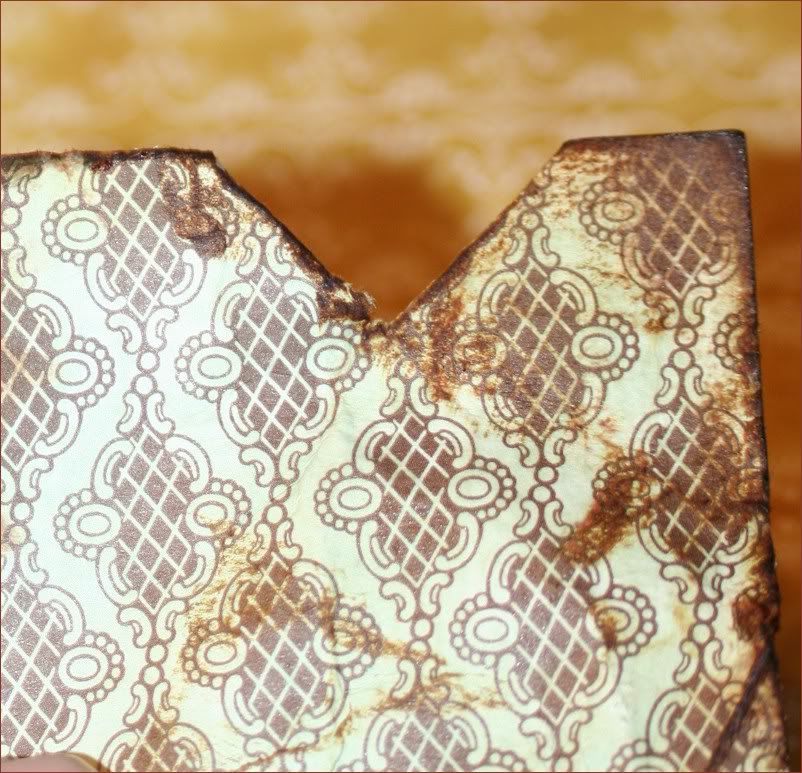
Here's this poor little distressed piece of scrap paper in all its glory. ;)
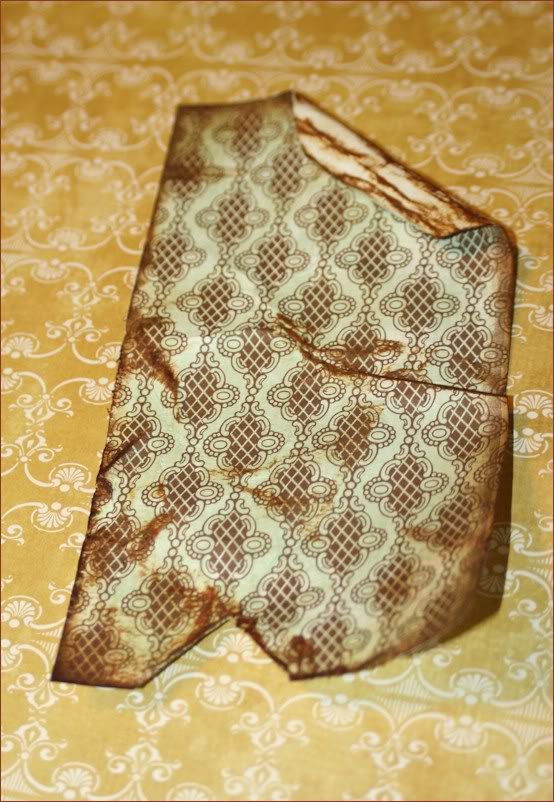

Have fun with it. In the end, its all about what YOU LIKE, and what YOU WANT on your finished projects!
Until next time...
xoxo
Leah

Thursday, May 6, 2010

Paper distressing techniques part 1 of 2

Recently I was asked how I curled, roughed up, rolled, and distressed my scrapbook paper. The easiest way to tell you is by showing you. I will have this available by video soon, and will post it if you would like to see these techniques in action, for now, I snapped some photos. :)

What you will need:

  1. Paper
  2. Ink
  3. Mini Mister filled with water
  4. Scissors
  5. Glue dots 
  6. Heat gun (optional)
 Technique 1: rolling/curling your paper

Get your ink, and ink all around the edges of your paper. As much or as little as you like. Y'all know me, and I like LOVE my ink!
Grab your paper and your mini mister (you can get these in a pack of 3 at Michaels for really cheap) and over your trashcan or sink, mist all around the edge of the paper. (If you used a Ranger distressed Ink, you can rub the edges of the paper to create a lovely smudged look with the water and ink... in these photos, I did not use that ink) You'll notice the paper starts to curl up.. that's what we want! We are going to tell this paper how we want it to behave.

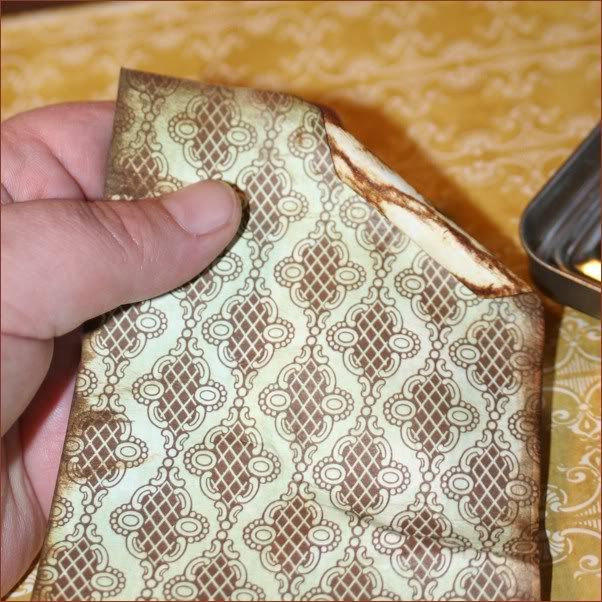
Now, at any corner of the paper, press down with your thumb and index finger, and start to roll it in. If you've ever played with playdough or making a paper cone, it is similar to that.
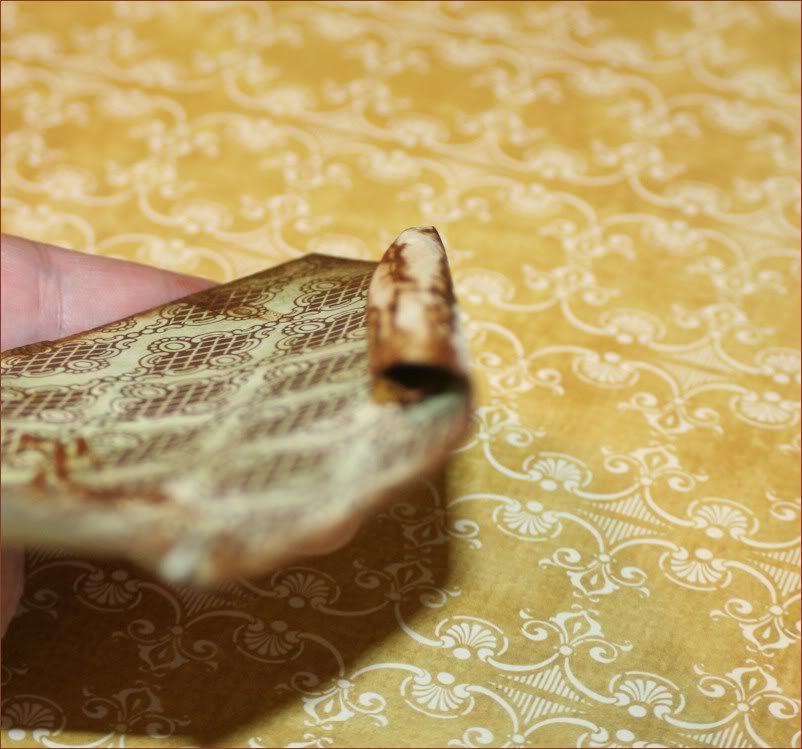
Roll it in as much as you like.. you can roll it tightly, or very loosely, completely up to you, there are really no rules to this. :) You'll notice your paper is still wet, go ahead and let go of it, see how it is keeping its shape? Now, if you want, grab your ink pad again and ink the top of the paper you rolled in.
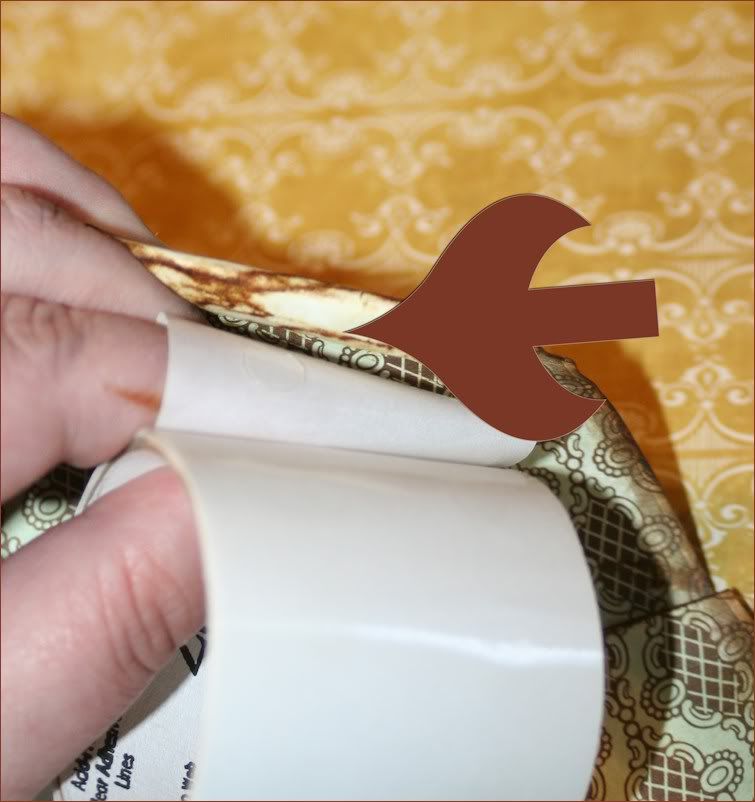
Once it is dry, you can leave it as is, or you can adhere it down so it won't move around. Get your glue dots, and place one underneath the edge of the rolled paper. See where the arrow is pointing to? There.
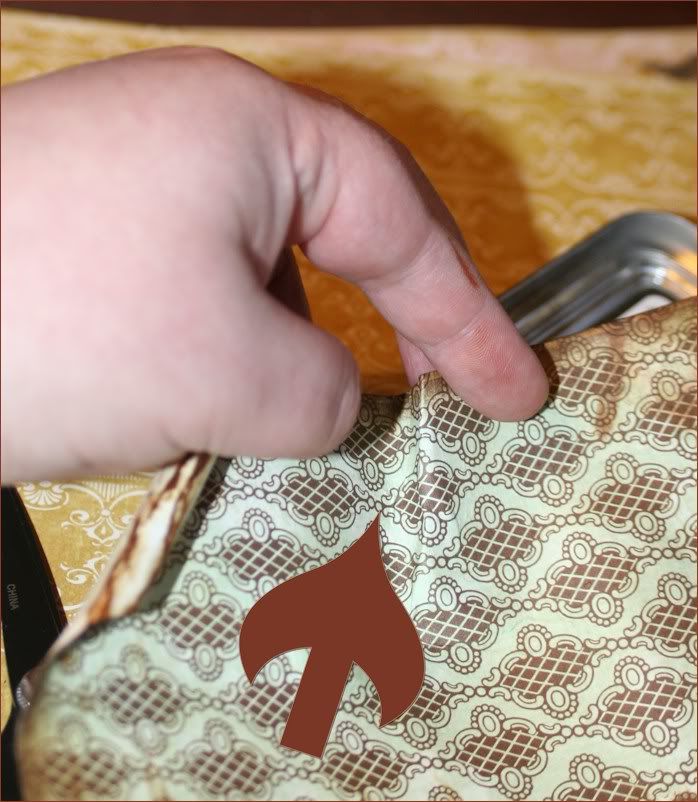
Then press down so it sticks.
You can leave it smooshed down or you can play with it and open it back into a roundish shape.

There you have it. Easy peasy right?

Stay tuned for part 2 tomorrow!
xoxo
Leah