
Recently I was asked how I curled, roughed up, rolled, and distressed my scrapbook paper. The easiest way to tell you is by showing you. I will have this available by video soon, and will post it if you would like to see these techniques in action, for now, I snapped some photos. :)
What you will need:

- Paper
- Ink
- Mini Mister filled with water
- Scissors
- Glue dots
- Heat gun (optional)
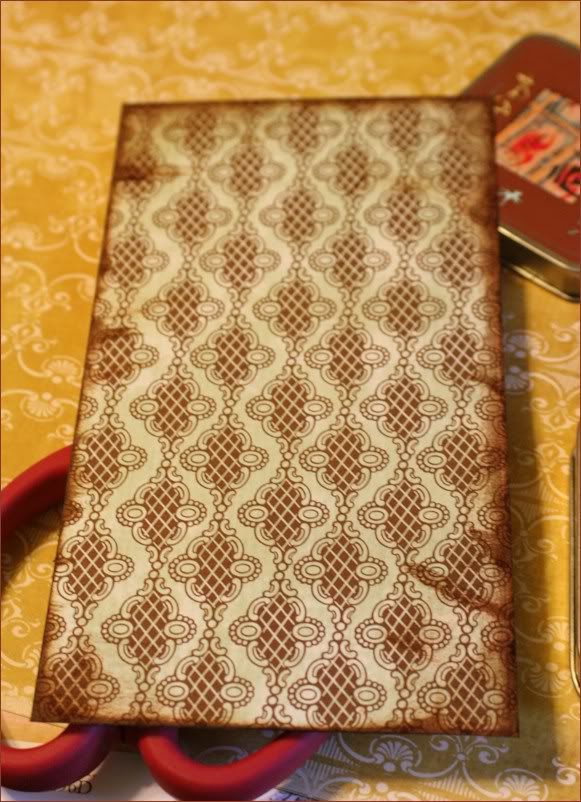
Get your ink, and ink all around the edges of your paper. As much or as little as you like. Y'all know me, and I

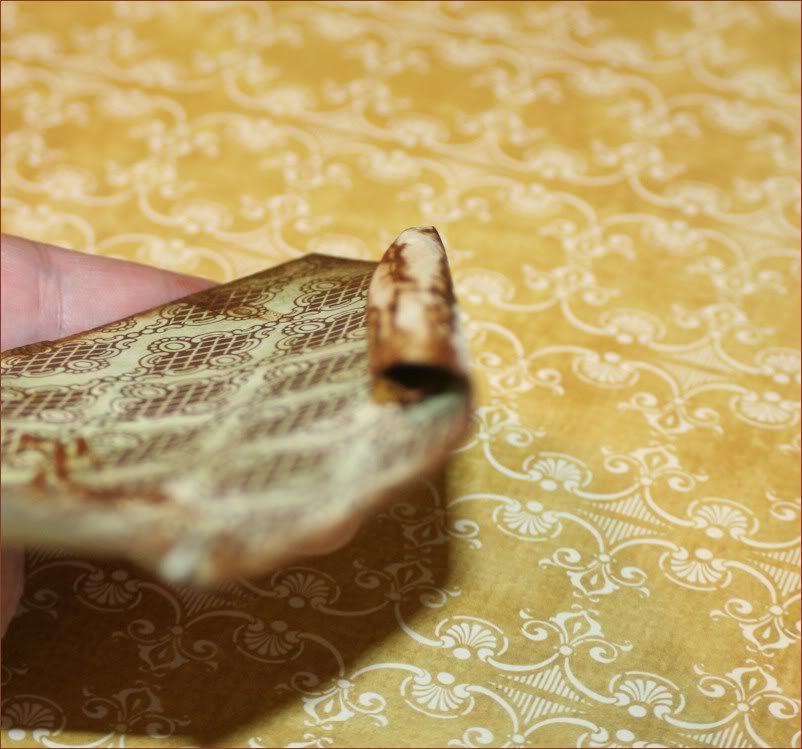
Now, at any corner of the paper, press down with your thumb and index finger, and start to roll it in. If you've ever played with playdough or making a paper cone, it is similar to that.
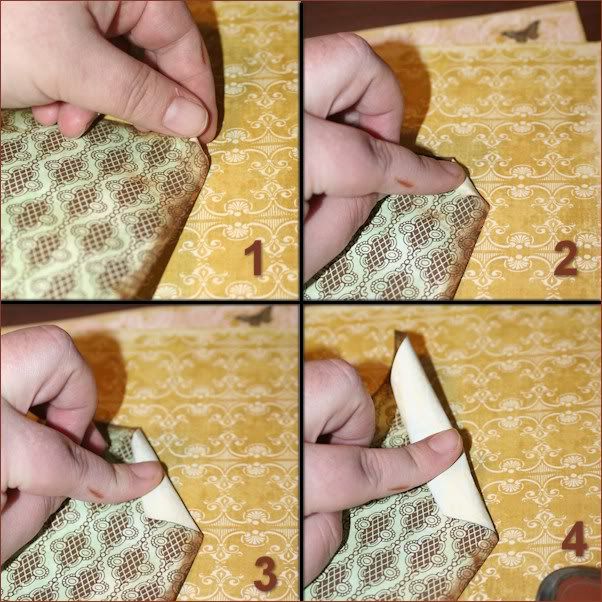
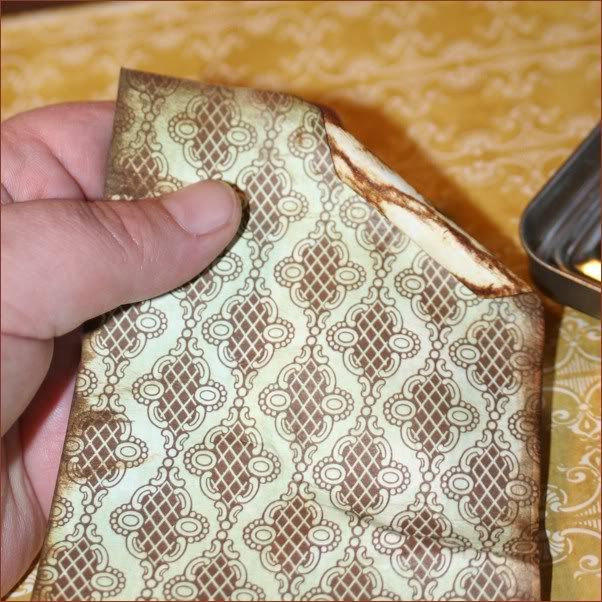
Roll it in as much as you like.. you can roll it tightly, or very loosely, completely up to you, there are really no rules to this. :) You'll notice your paper is still wet, go ahead and let go of it, see how it is keeping its shape? Now, if you want, grab your ink pad again and ink the top of the paper you rolled in.
Once it is dry, you can leave it as is, or you can adhere it down so it won't move around. Get your glue dots, and place one underneath the edge of the rolled paper. See where the arrow is pointing to? There.
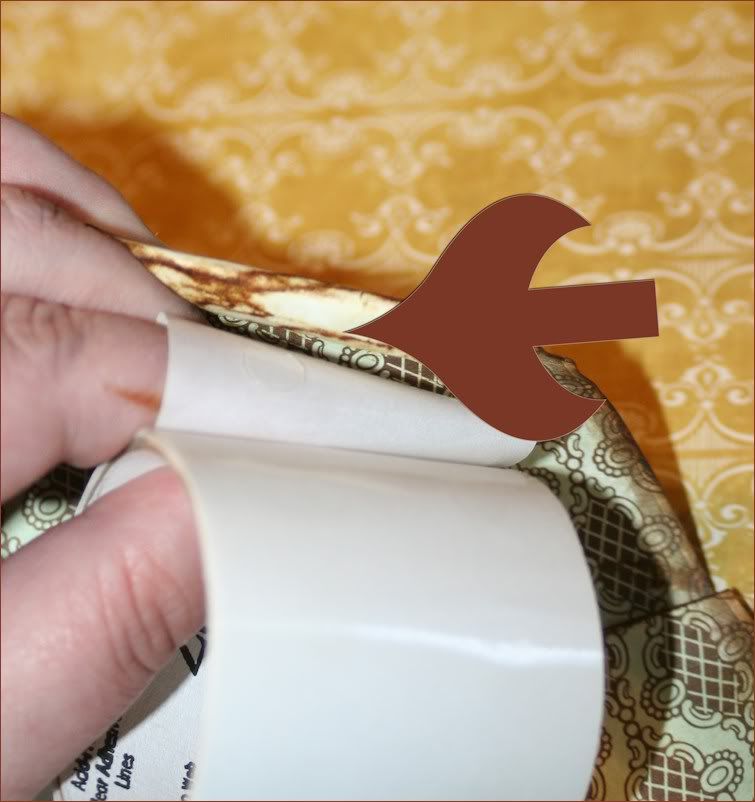
Then press down so it sticks.
You can leave it smooshed down or you can play with it and open it back into a roundish shape.
There you have it. Easy peasy right?
Stay tuned for part 2 tomorrow!
xoxo
Leah


I have to tell you that was such a great tutorial in terms anyone could understand. Thanks so much for the great visual.
ReplyDeletewow Leah I love that, I am really going to try this. Love it!!!
ReplyDeleteoooooohhhhh the DISTRESS OF IT ALL!!!
ReplyDeleteLove it Dolores!!
This is wonderful! Love the look!
ReplyDeleteThat's awesome, love how you distressed it!
ReplyDeleteNice explanation!!
ReplyDeleteThank you for sharing!
Awesome....Thankz
ReplyDelete